 |
|
 |
|
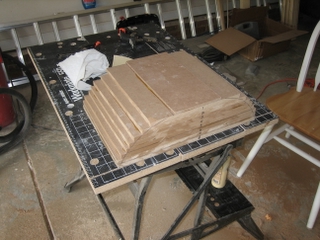
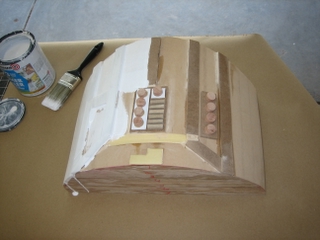
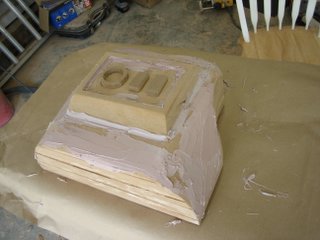
| This is the beginning of the work I did on the lower back mold. I glued 8 sheets of MDF together. Each sheet was a little bit smaller as they reached the top. All that was left to do was dand down the sharp corners into a smooth surface. |
|
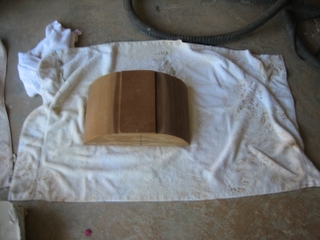
This is the completed lower back armor. I wasn't totally satisfied with the way the seams showed up on the final plastic piece, so I eventually added some primer to smooth the whole piece out. |
| |
|
|
 |
|
 |
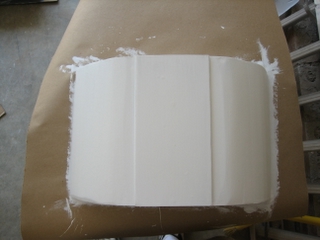
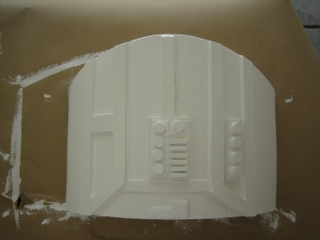
| This is the Primed and Painted lower back mold |
|
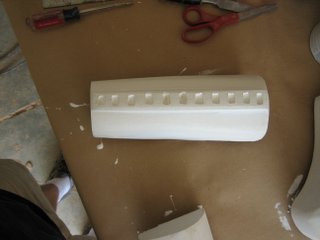
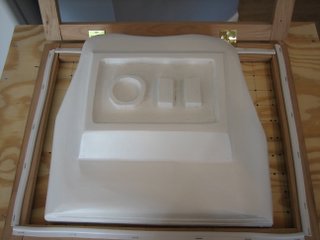
This is a picture of the abdomen mold halfway through priming |
| |
|
|
 |
|
 |
| Another Picture of the Partially primed abdomen |
|
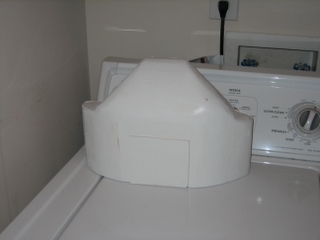
Completed Abdomen Mold |
| |
|
|
 |
|
 |
| Completed Butt Armor Mold |
|
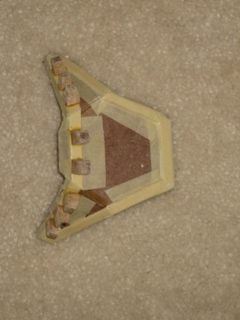
Left Kneeplate mold |
| |
|
|
 |
|
 |
| Front portion of utility belt mold |
|
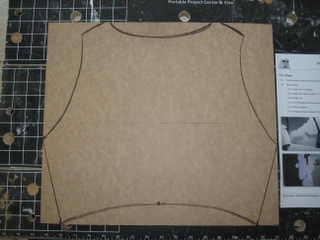
3/4 Inch think piece of MDF. I made 9 of these, cut them out and glued them together to get a rough size for my chest mold. I was very happy with the way this piece came out. It took about 20 hours to complete. |
| |
|
|
 |
|
 |
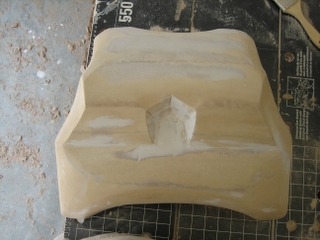
| Chest Mold after applying bondo and sanding. |
|
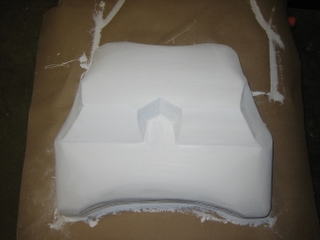
Completed Chest Mold after Priming and Painting. |
| |
|
|
 |
|
 |
| Upper Back is almost complete. There were a few dents that I had to patch with some Bondo. Sanding and Priming is next for this piece. |
|
Bottom Side of the Forearm |
| |
|
|
 |
|
 |
| Completed Top Side of the Forearm Mold |
|
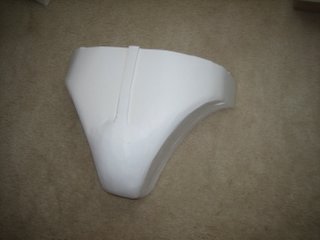
Completed Cod Piece Mold |
| |
|
|
 |
|
 |
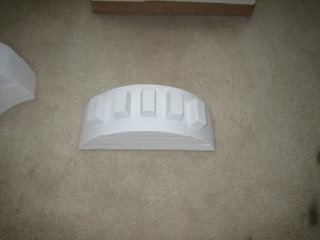
| Completed Knee Battery Pack Mold. This is my third try for this piece. This looks good and should form well. |
|
Completed Back of the Utility belt mold. This one was really easy. |
| |
|
|
 |
|
|
| Completed Upper Back Mold |
|
|