| |
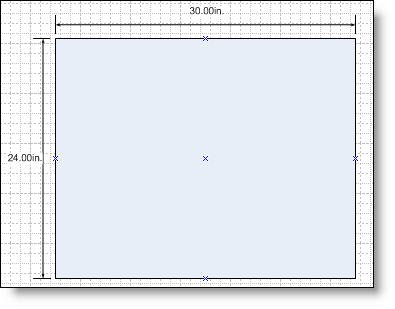
Cut plywood into two identical rectange boards with a length of 10" and a Width of 24"
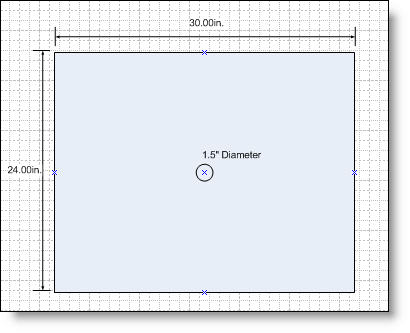
On one of the boards, drill a 1.5" hole in the center.
|
|

|
| |
|
|
| |
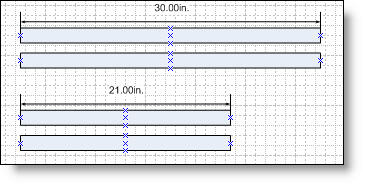
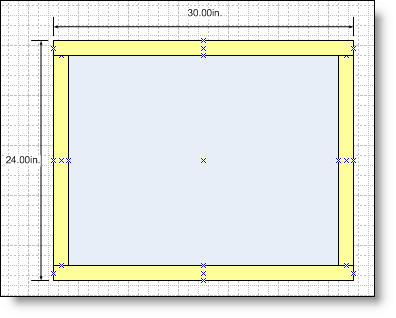
Cut Pine Wood Strips into the following lengths:
- 2 at 30 inches.
- 2 at 21 inches
|
 |
| |
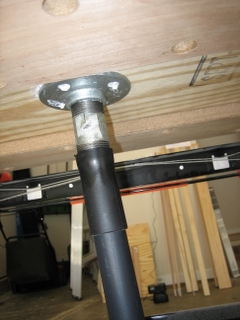
Apply caulk around the bottom of the hole in the bottom board and attach the floor flange using 1" wood screws.
Attach the threaded pipe to the flange.
I heated a spare piece of a vacuum accssory and melted it to the threaded pipe. This makes it very easy to attach the vacuum. |
 |
| |
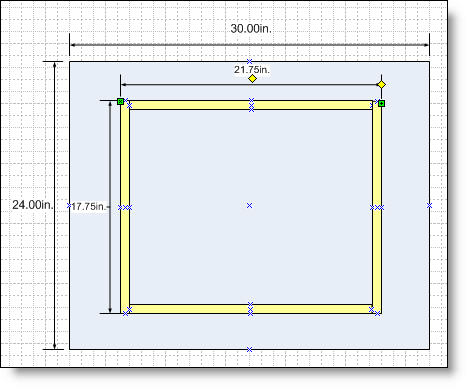
Attach the pine wood strips to the other side of the bottom plywood piece around the edges. Use wood glue and wood screws to attach them. Seal the joints with caulk.
Place the second board on top of the pine wood strips and glue and screw it in place. |
 |
| |
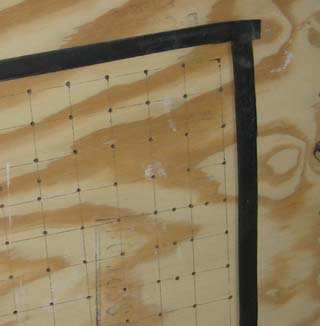
Apply the foam weather stripping to the top of the forming surface. This should be applied in the same size as the forming frame. |
 |
| |
Draw a grid on your forming table consisting of lines spaced 1.5" apart.
use your drill to drill 1/8" holes on every intersection of the lines |
|
| |
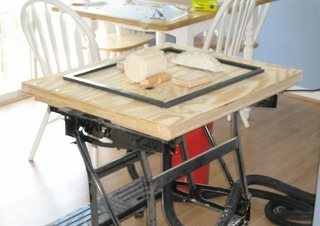
Add a Handle to the top of the table for easy transport.
Place Forming Surface on the workmate with the hose positioned through the empty middle board. |
 |
| |
Now you can form your your polystyrene into the shapes of your models. |